
AppLife Manager Quick Start
1. Start with your first default application on AppLife Cloud or create a new application.
2. Download resources for this quick start here.
3. Log into AppLife Cloud with your credentials. (https://www.applifeupdate.com)
4. Once logged in, navigate to your Subscription page.
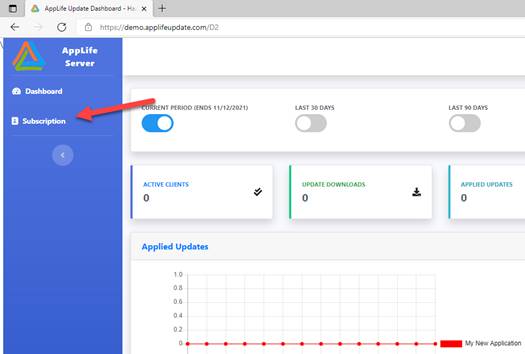
5. Once there, note your publisher code.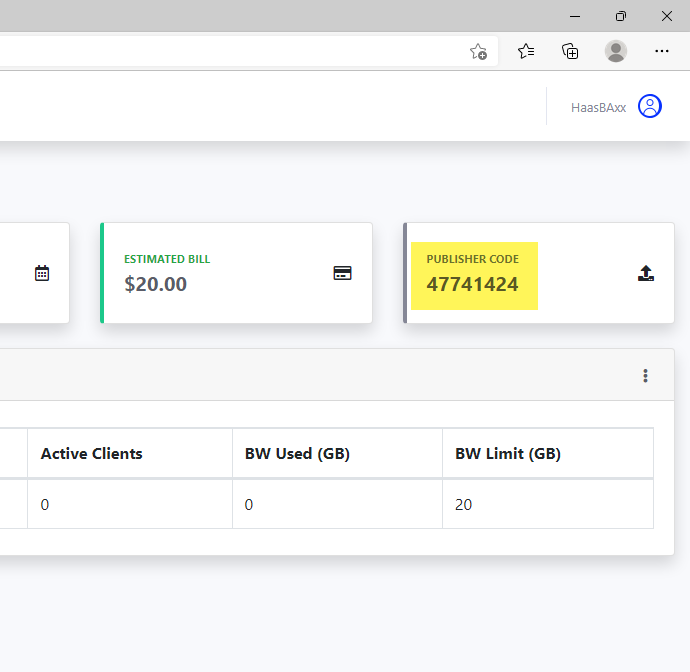
Tip: You can set a custom publisher code that is easier to remember and communicate, such as your company url.
6. With the Publisher Code available, download and install AppLife Manager if you haven’t done so already. Once installed, click on the AppLife Manager icon in the system tray to open the User Interface. From the user interface, click the Add Subscription button. (Note: You will need administrative permissions for this step)
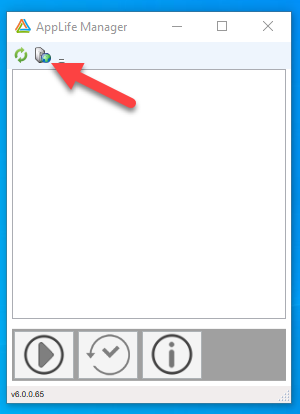

Click the Add Button.
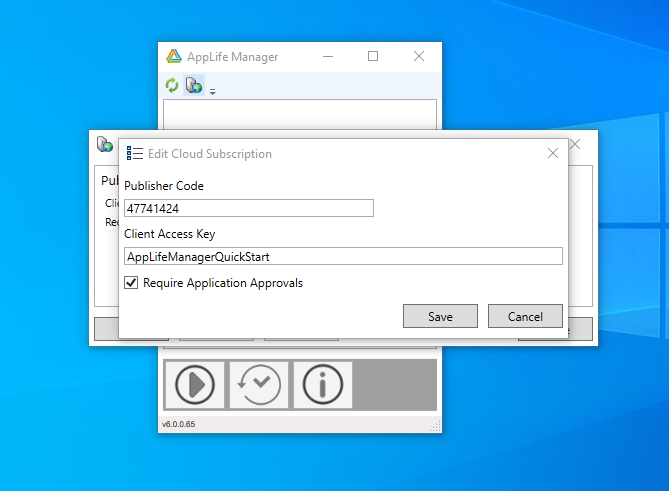
Enter your Publisher Code from the previous step and enter a Client Access Key (CAK). The CAK is a value that represents this client installation. It does not have to be unique. In some situations, all the PCs in a single location might share the same CAK. In other situations, each PC will require their own CAK, like how a traditional license key might be treated. This CAK can be used to target or limit this PC from receiving specific updates and/or applications.
Once saved, AppLife Manager finds your application from the AppLife Cloud.
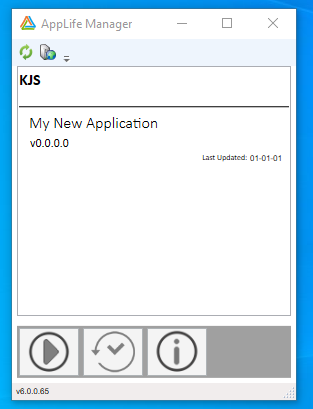
There are no update packages published yet.
6. Publish an Update
If not already done so, download and install AppLife Builder (https://www.applifeupdate.com/GetAppLifeBuilder)
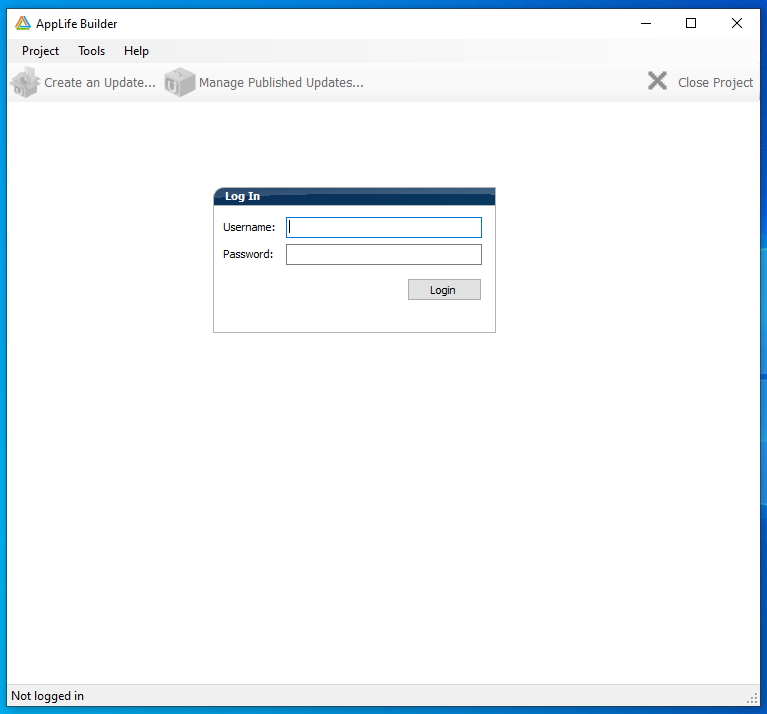
Launch Builder and log into AppLife Cloud with your subscription credentials.
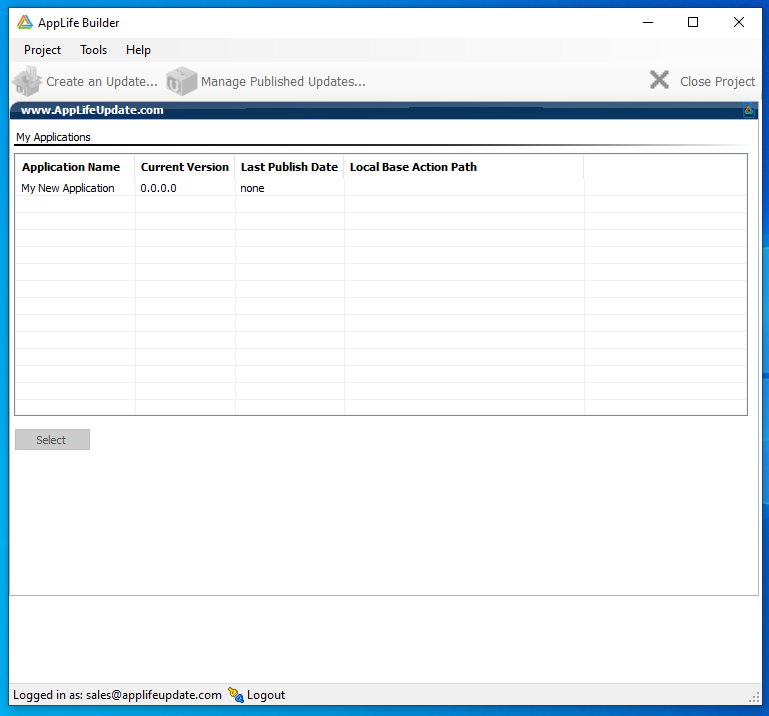
Pick your application from the list.
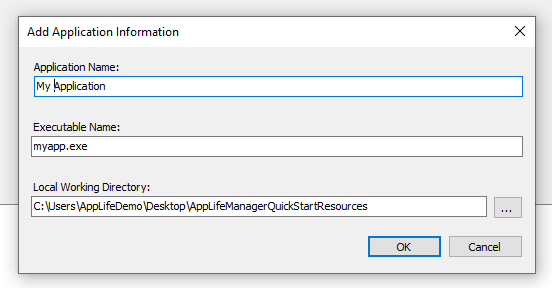
You will be prompted for:
•Your Application Name
•Your Executable Name
•A local working directory
AppLife Manager uses your executable name to launch and shutdown your application as it’s being updated. The local working directory can be used to assign relative paths to resource files that will be packaged when updates are built. Enter the these values:
Name: My Application
Exe Name: MyApp.exe
Local Working Directory: The local directory where you extracted the QuickStart resources earlier.
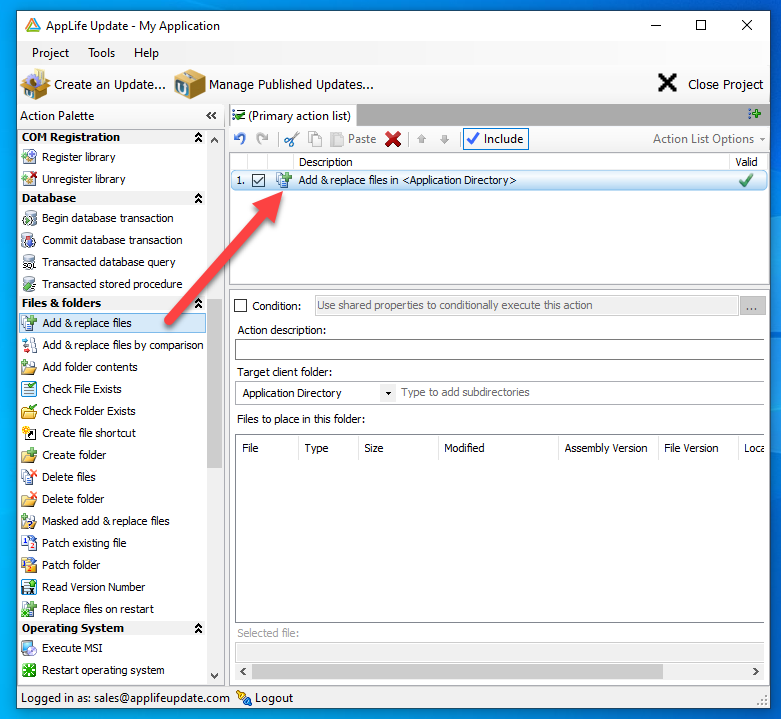
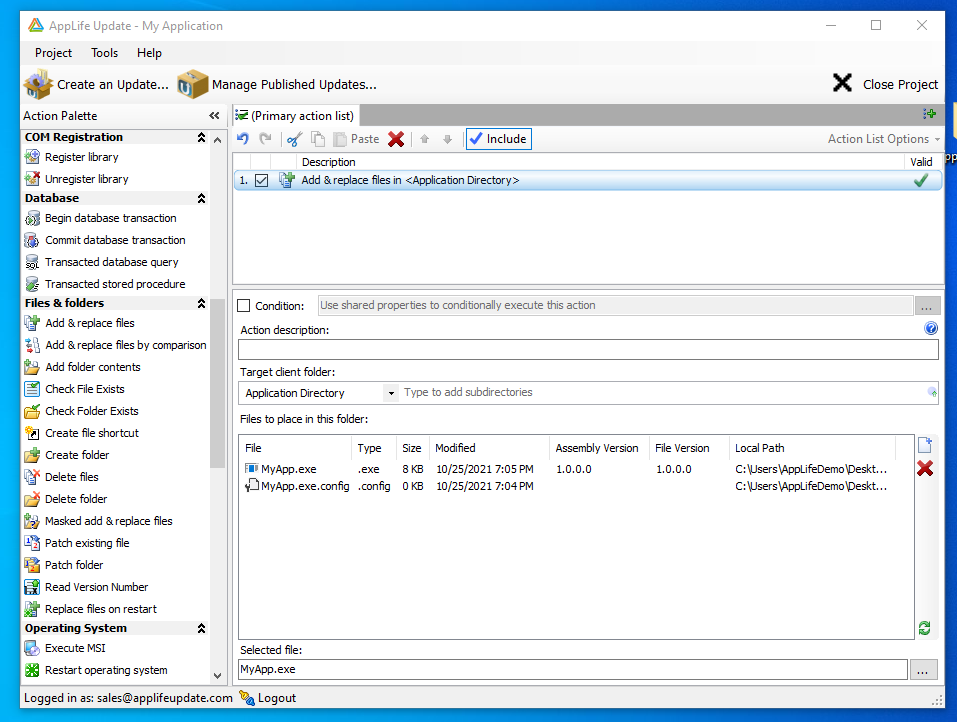
Place an Add & Replace Files Action into your update.
Then add MyApp.exe and MyApp.exe.config files from the QuickStart resources directory on your PC.
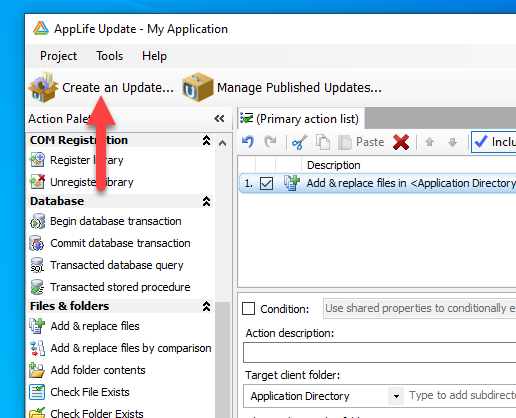
Build the update, by clicking on the Create an Update… button.
In the build wizard, you can define the version of this update and which previous versions can successfully apply the update, provide summary text, etc. We are going to take the defaults and build version 1.0.0.0 of the application, and this update will be available to all previous versions of the application. Note that AppLife Manager considers the current uninstalled version to be version 0.0.0.0. Click next on the first wizard page.
On the second wizard page, you can define which clients can receive the update, based on Client Access Key (CAK). There are no Access Control Lists defined yet on your cloud dashboard. We will take the current default, which is anonymous access. Click the Build button.
With an update published, we can return to AppLife Manager, and click the Refresh button.
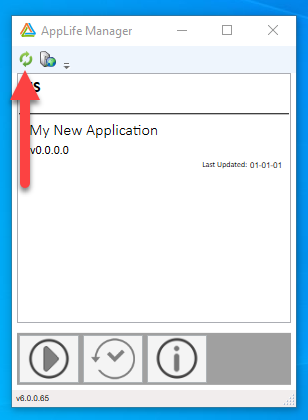
During the refresh, AppLife Manager will find the update to version 1.0.0.0, then download and execute the update. Once finished, version 1.0.0.0 of My Application will be installed.
Congratulations. You have just deployed your first application through AppLife Manager!
7. Modify Default Settings
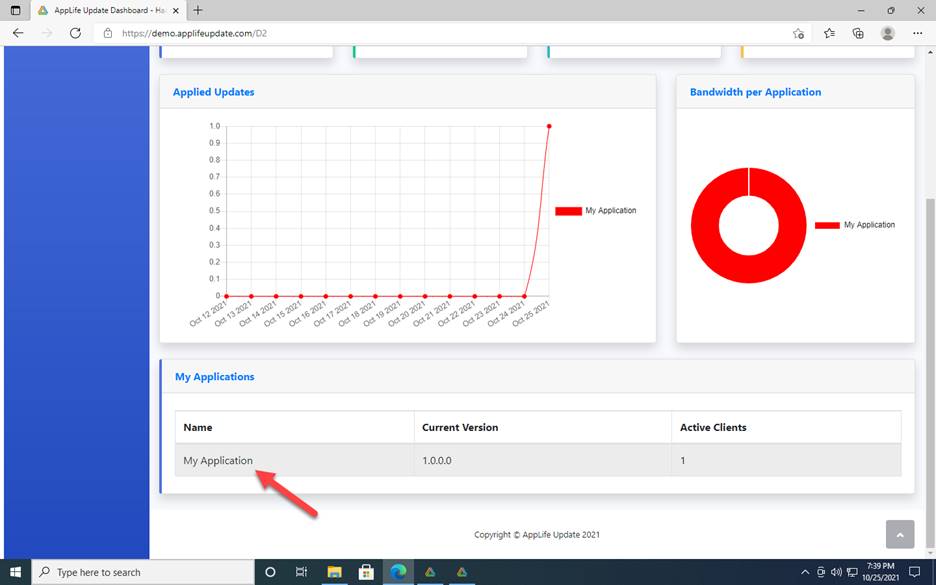
The AppLife Manager settings are configured through your dashboard. Return to your dashboard and click on My Application.
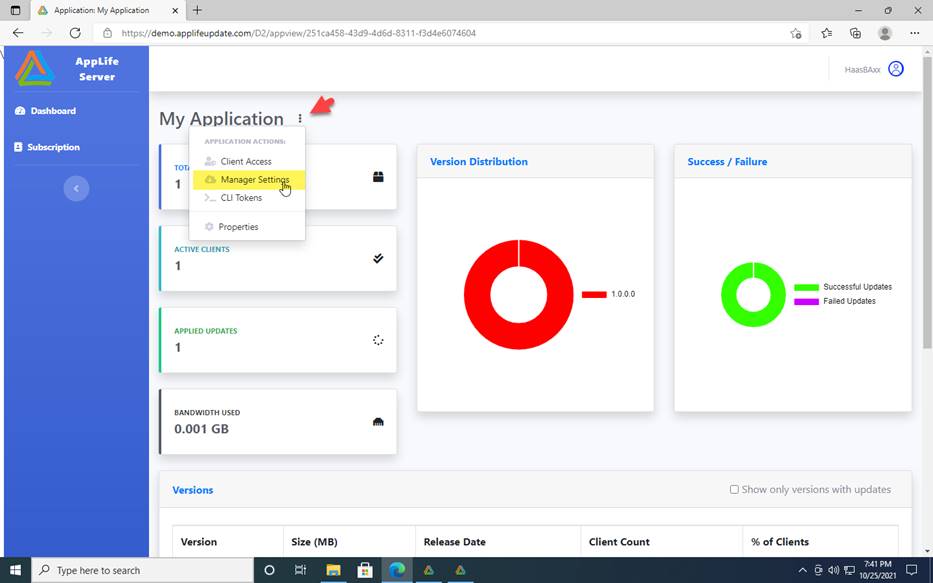
Once on the My Application page, click the Actions icon and select Manager Settings.
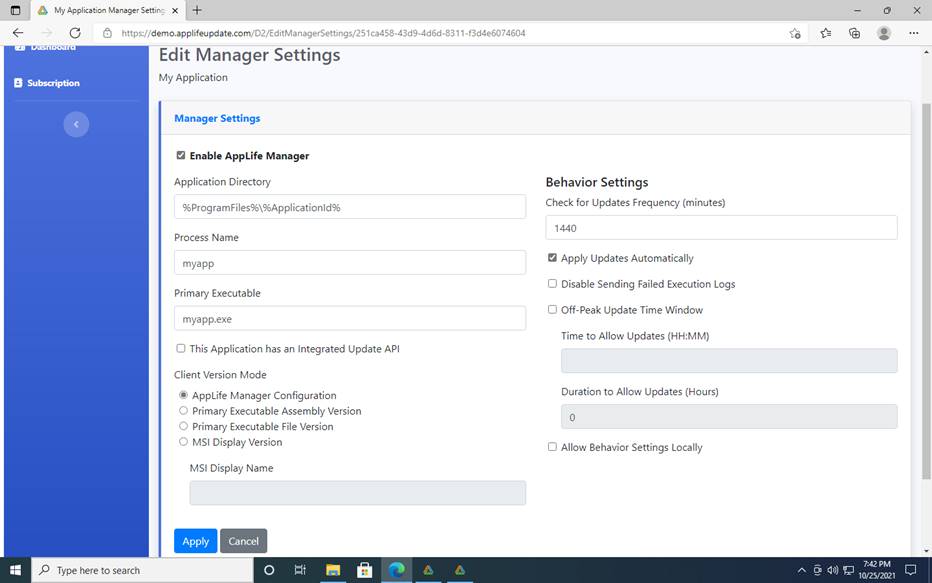
The default settings are shown above.
The application is installed at %ProgramFiles%\%ApplicationId%. System Environment variables can be used in this path.
AppLife Manager will automatically check for new updates every 1440 minutes (24 hours). You can set this to as low as every 5 minutes. Once a new update is found, what happens next is determined by the next few settings. By default, Apply Updates Automatically is true. Updates will be automatically applied when they are discovered. Unchecking this box will change this behavior. The user will be notified through the System Tray notifications that an update was discovered. The user would then need to apply the update through AppLife Manager.
You can set the update to apply automatically, but only during specific hours by setting Off-Peak Update Time Window to true and defining a start time and duration for an update window.
By default, the version value is managed by AppLife Manager. You can change this behavior to determine the local version based on a local primary executable assembly or version number. You can also use an MSI Display Name value to determine the local version number.
Change the frequency of updates to 5 minutes.
8. Provide an Application Icon.
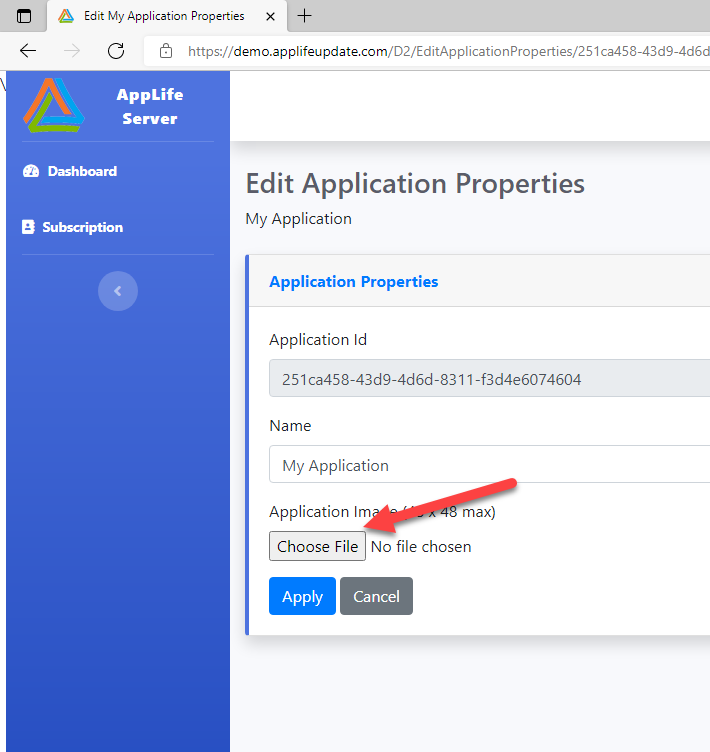
Back on the Application page, navigate to the application Properties page.
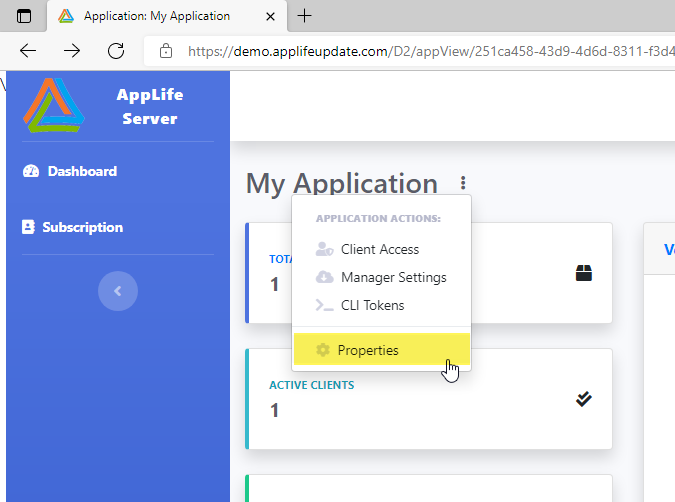
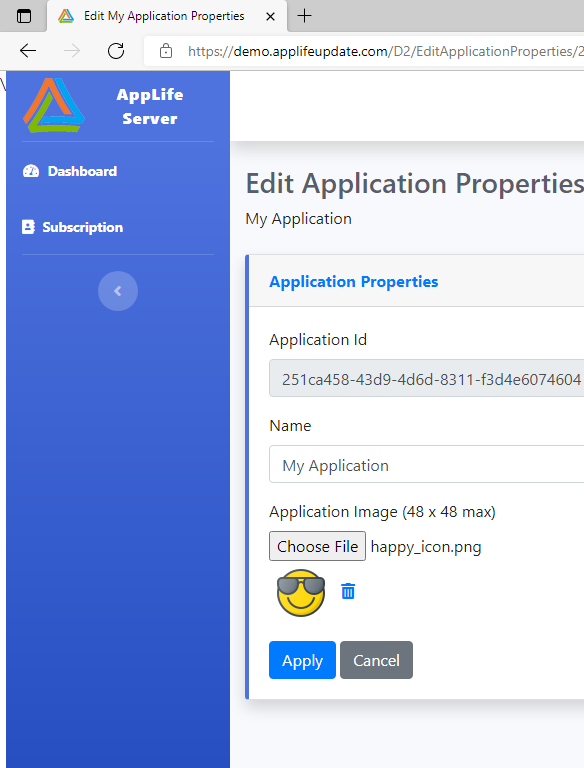
Here you can change your application name and define an image for the application. Choose an image file and select one of the images from the quick start resources directory.
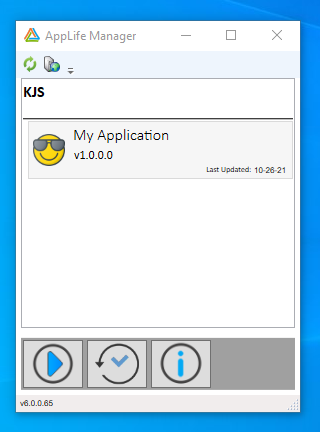
AppLife Manager automatically refreshes its applications list every 4 hours. If we wait that out, the settings we just made would appear automatically. We can also refresh AppLife Manager. Once we do, we’ll see an application image and the application will start checking for updates automatically every 5 minutes.
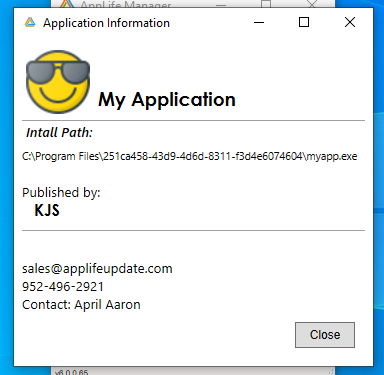
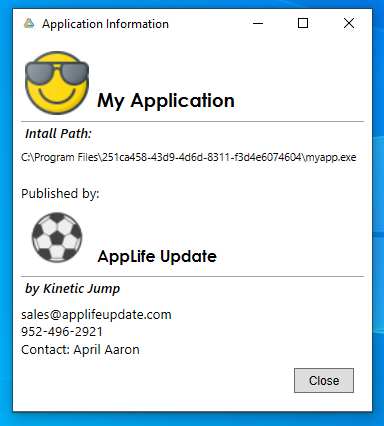
9. Update Publisher Header Information.
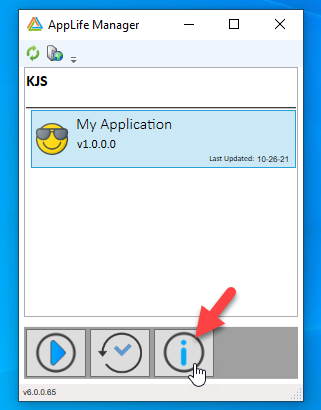
The header in AppLife Manager displays your company name, by-line and image if they are configured. This information is also displayed when a user clicks the Circle I button for application information.
By navigating back to the dashboard Subscription page, we can modify our settings.
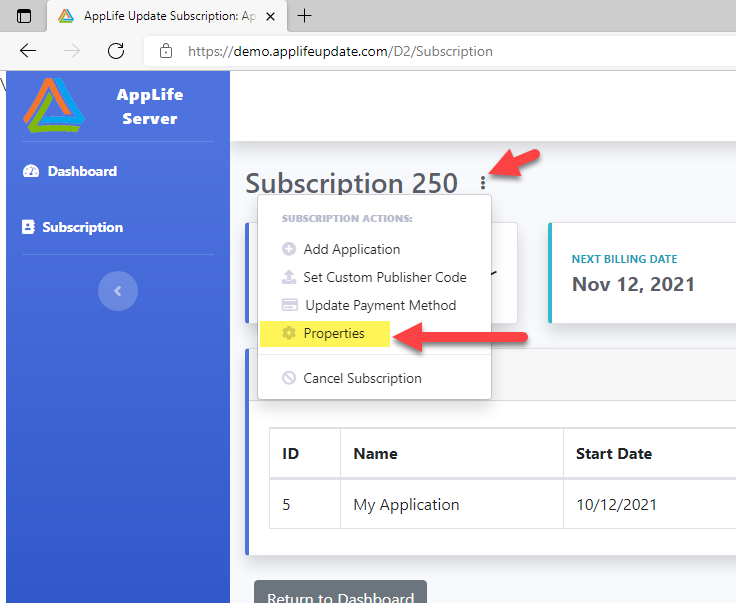
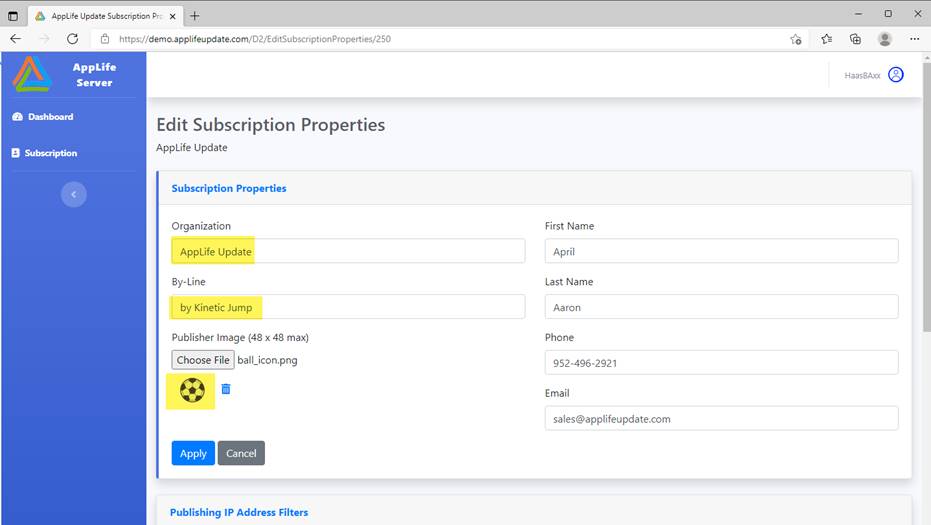
Change the Organization, by-line and image to fit your organization.
Return to AppLife Manager and refresh again.
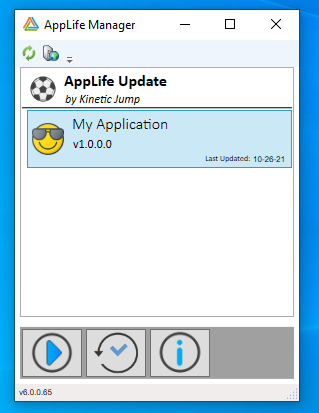
AppLife Manager provides a turn-key automatic application and update distribution system. More information can be found in the Using AppLife Manager section.