
Simple Quick Start
The simple quick start application implements the AppLife Update solution by using the UpdateDisplay Windows Forms control. We’ll create a new .NET 5 Winforms application and add updating capabilities. To update the application, a single Add and Replace files action is used.
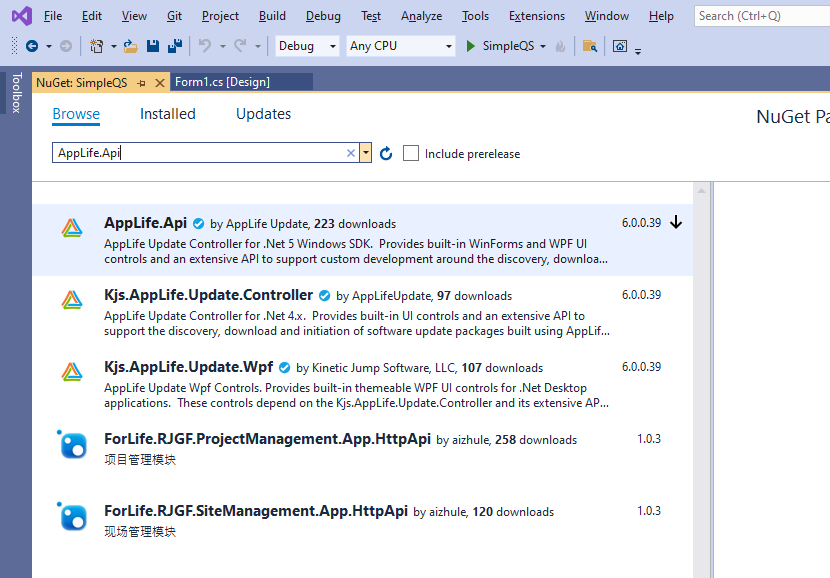
1. Get AppLife.Api from NuGet
Drag and drop an UpdateDisplay control from the WinForms toolbox in Visual Studio onto the application’s main form. This control can be found on the AppLife Update WinForms tab. Also drag an UpdateController control from the AppLife Update tab.
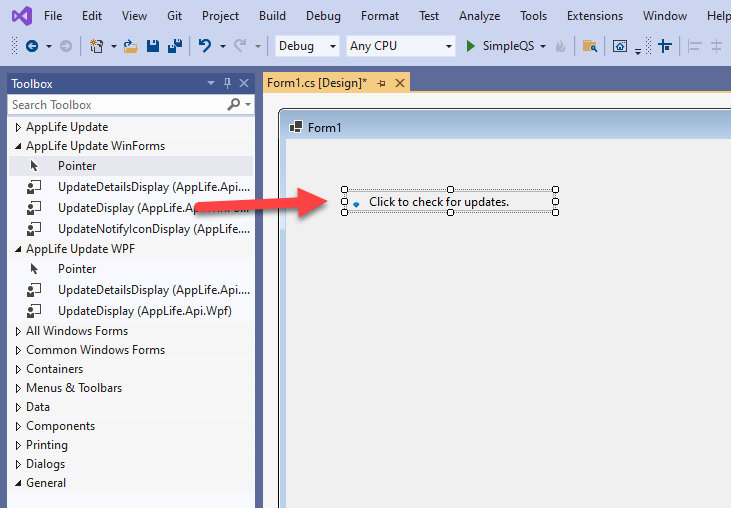
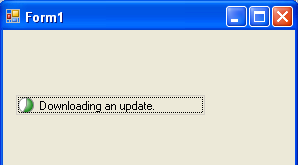
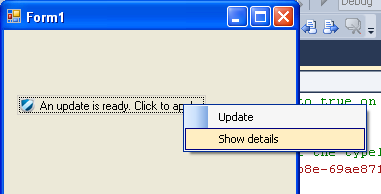
The UpdateDisplay control provides an in-line asynchronous check for updates, download, and user notification. The control also has a details pop-up pane. You can use this control from the main form of an application to completely manage the update process. There are many customizations available through the properties of this control. The Update Controller performs all of the actual work of the update process, and the UpdateDisplay provides a user experience. You can switch user experiences by adding one of the alternative display controls and assigning the existing update controller to the control’s UpdateController property. Multiple visual controls can utilize the same update controller.
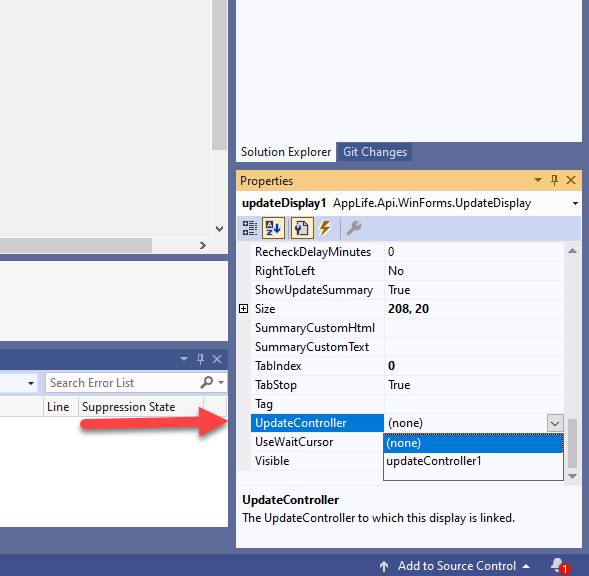
Set the UpdateController property of the updateDisplay1 control to updateController1.
See the User Experience Options topic for information on the other built-in update user experiences available.
2. Connect to your AppLife Cloud project
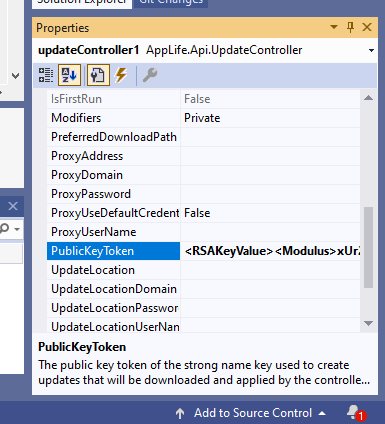
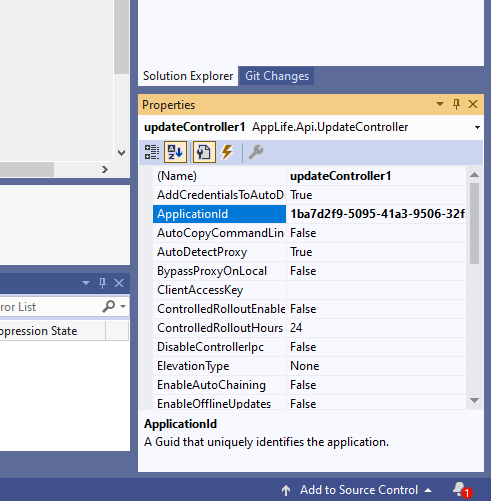
Click the updateController1 control and reference the Properties of the control. We need to set the:
•ApplicationId
•UpdateLocation
•PublicKey
•ClientAccessKey
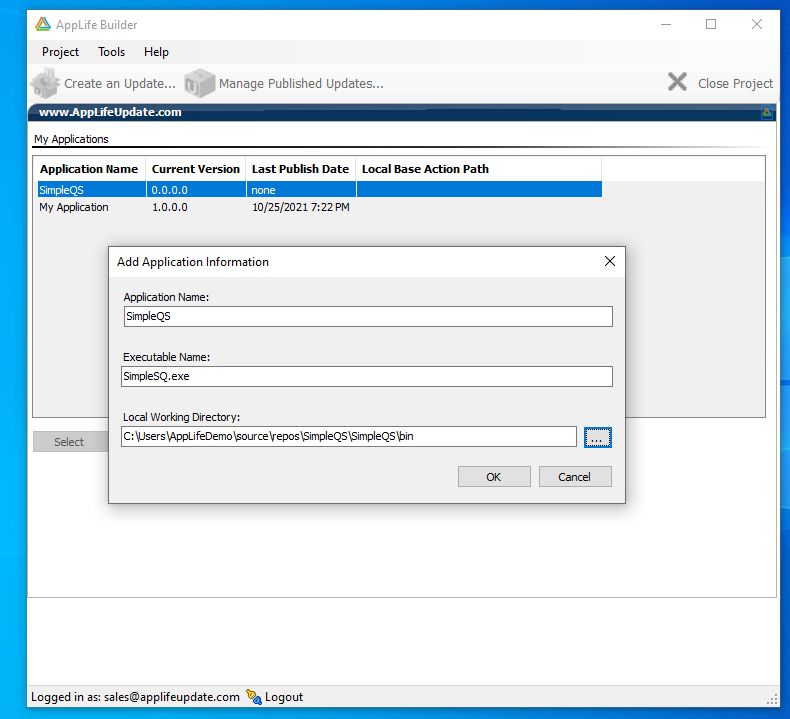
Launch AppLife Builder and open your application. If the application is new, you will be prompted for application information.
Once the application is open in AppLife Builder, navigate to the Project Settings.
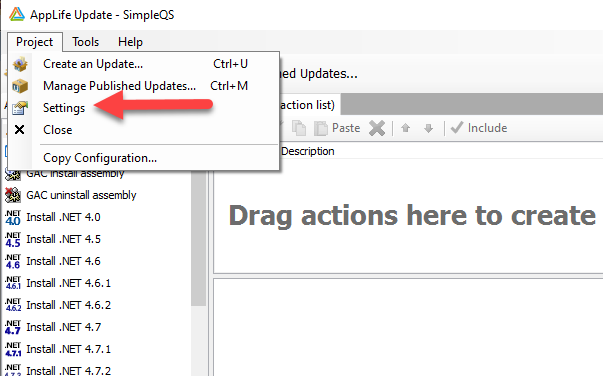
From the Security Tab, copy the Public Key value
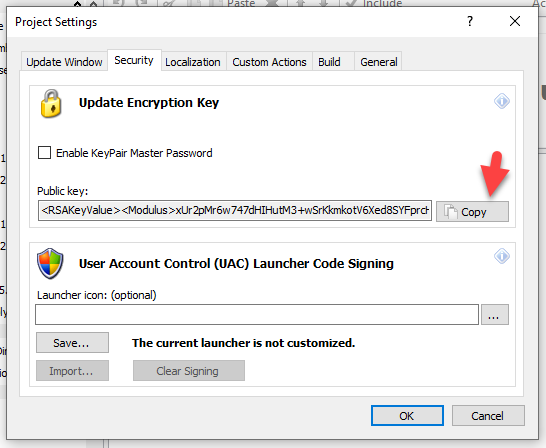
Paste the value into the updateController1 property grid.
Return to the Project Settings dialog. On the General tab, find and copy the Application ID.
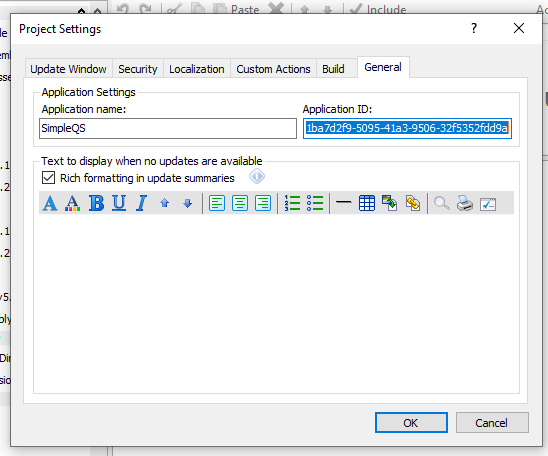
Paste the Application ID value into the updateController1 property grid.
Set the UpdateLocation to https://www.applifeupdate.com
Set the Client Access Key (CAK). The CAK is a value that represents this client installation. It does not have to be unique. In some situations, all the PCs in a single location might share the same CAK. In other situations, each PC will require their own CAK, like how a traditional license key might be treated. This CAK can be used to target or limit this PC from receiving specific updates and/or applications.
Note: The CAK can be set programmatically. If so, be sure to set the CAK before the Update Controller checks for updates.
Set the Version
By default, the Version property is set to 1.0.0.0. You can set this value to match your application version. More commonly, the UseHostAssemblyVersion property is set to true. When true, the Update Controller will use the host assemblies Assembly Version property to determine the current local version.
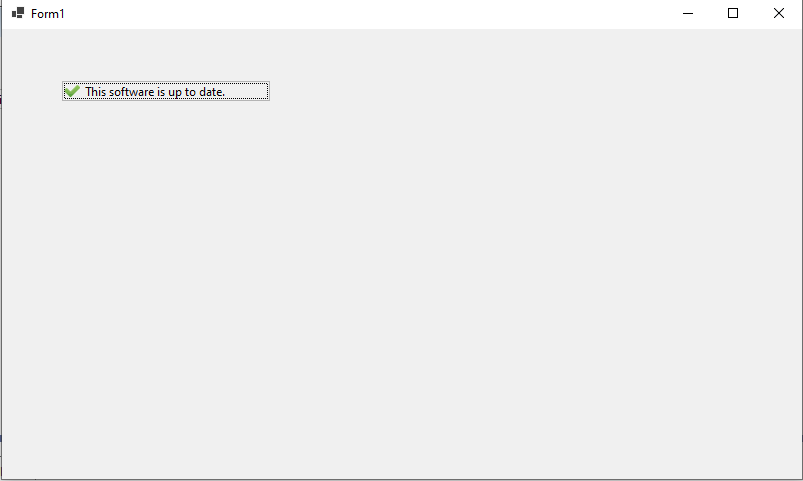
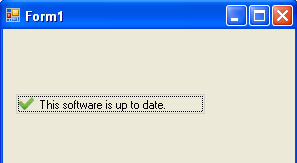
Your application is now configured to update from your subscription application. The Update Display control provides a complete update process. When your application runs, you will see that the application is currently up-to-date. We have not yet published any updates.
3. Build an Update
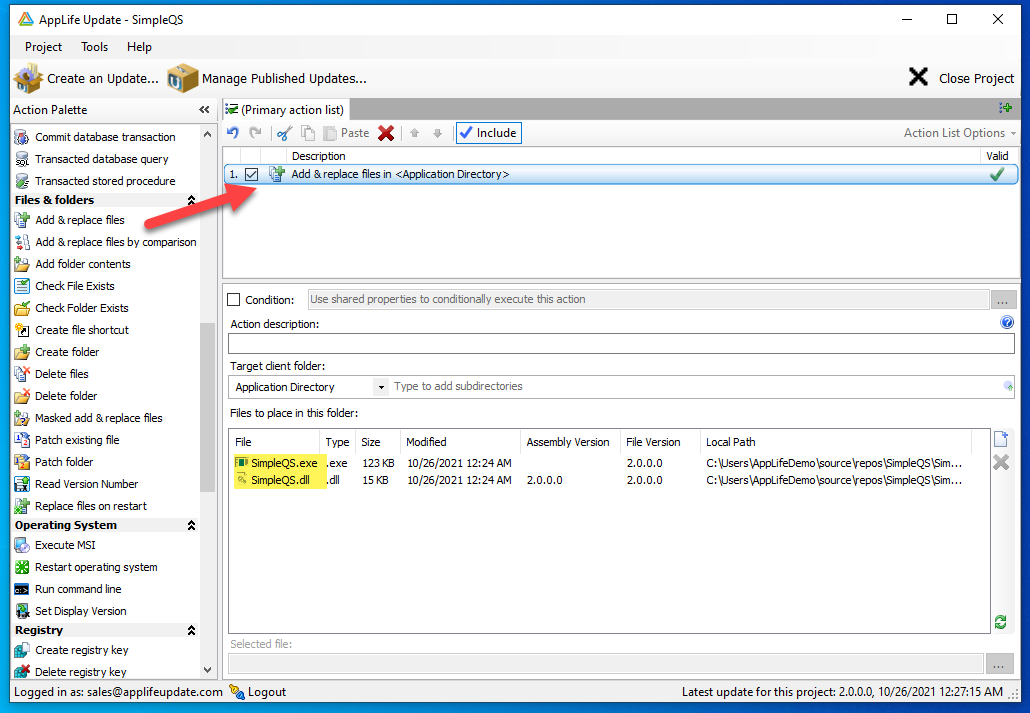
With the Update Controller properties set, we can build an update for the application.
We’ll use an Add & Replace files action. Add the action from the palette to the update. Add the two files from the project bin folder.
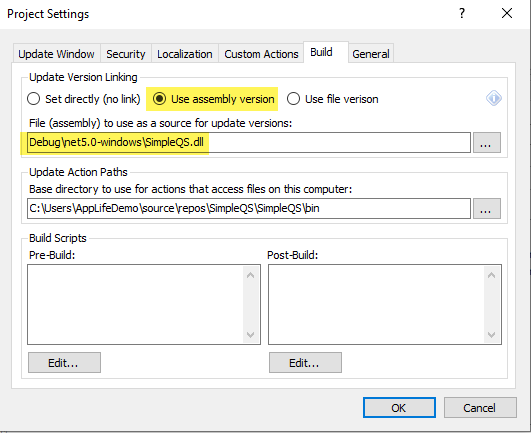
We can configure AppLife Builder to detect the Version number from a local file. To do this, we’ll open the Project Settings dialog again, and link the Visual Studio output file to use.
To build an Update:
a. Build the executable in Visual Studio. Don’t forget to set the proper version number before building the executable. Make Update will detect the assembly version of the host executable (your application), and this will determine the version number of the update being created.
b. In Make Update, Click the Create an Update button…
This will launch the create update wizard.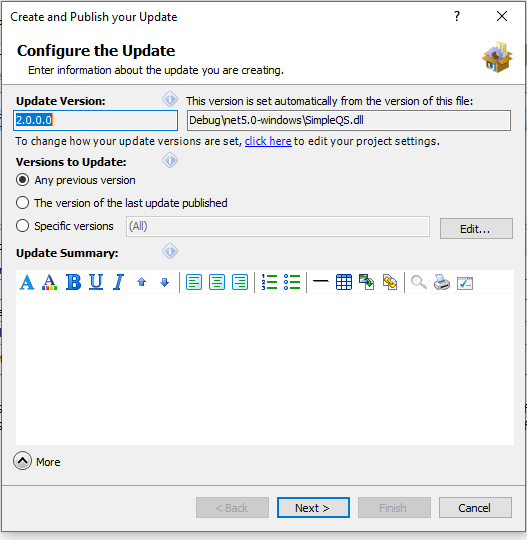
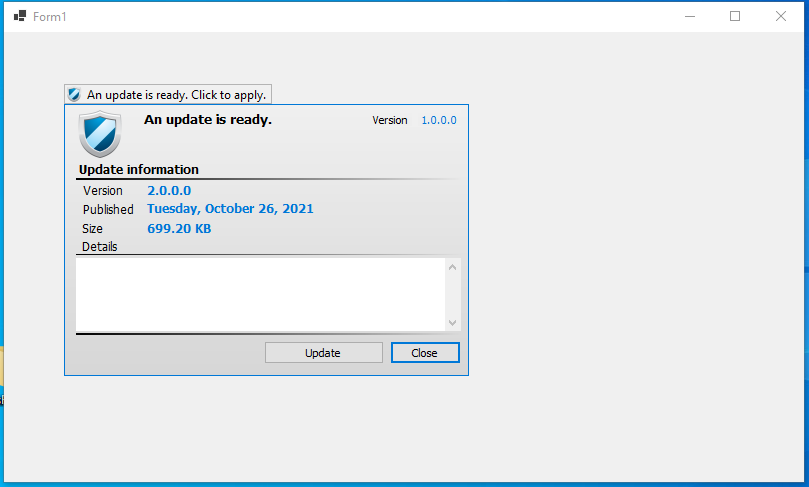
The update version being created is 2.0.0.0. This is detected from the host executable.
This update is available for any previous version of this application. If the actions in the update action list are configured to expect a specific version, you can change the Versions to Update to target a specific version. You can also target all versions greater than a specific version, or a discrete list of previous versions.
Summary text describing the update can be provided. This text will be displayed by the update user experience and is also available through the Update Controller API.
Custom Data provides a method to pass information to your update process. Information provided here is available to your application through the Update Controller API.
Note: The list of versions to update, summary text, and custom data can be modified after an update has been created by managing the update location that the update is published to.
Click Next>
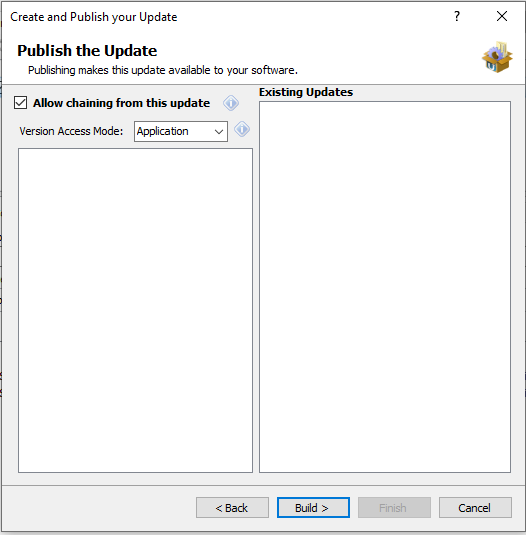
Here you can determine which Client Access Keys would be able to apply this update. Through the AppLife Cloud dashboard you can set up Access Control Lists and add CAK’s to the lists. If Access Control Lists existed, we would be able to select them and control which clients would be able to discover this update upon publishing. This access control can be modified after publishing through the cloud dashboard or through managing the update location within AppLife Builder.
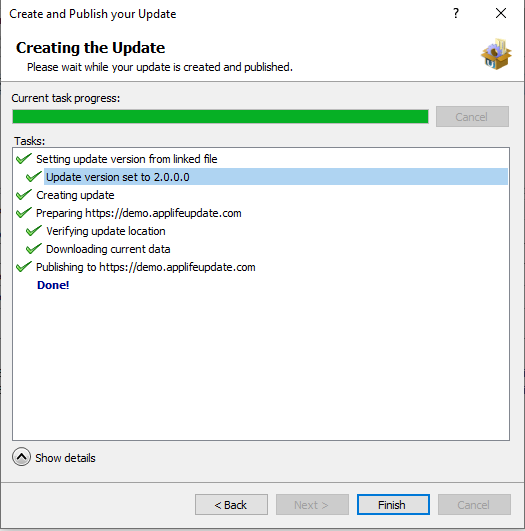
Click Build > to build and publish the new update.
4. Applying the New Update
The newly created update can now be used to update any previous version of the application to version 2.0.0.0. To test this, we’ll change the application version in Visual Studio back to version 1.0.0.0, build the application, and then run it.
a. Change the assembly version back to 1.0.0.0
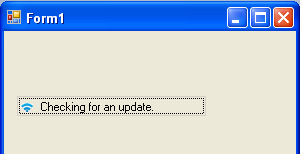
b. Start debugging the application in Visual Studio.
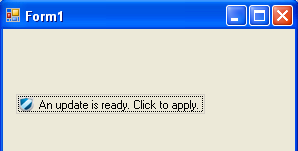
The update process is started automatically.
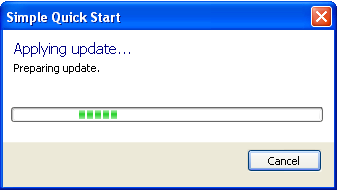
Applying the update…
The host application is closed and the AppLife Update engine performs the actions defined in the update action list.
The update completes and the host application is restarted as version 2.0.0.0. An update check is performed, but this time the application is up-to-date.
The Custom Forms Quick Start walks through using the Update Controller API to create a completely customized user experience.
The Custom Actions Quick Start walks through creating completely custom update actions, allowing you to perform any updating activity during an update.